
Having covered in last month’s post the tools used to measure and manage the training process, we will now explore the equipment I have selected to use for race-day. It should be noted up front that while triathlon may seem to be place a heavy emphasis on fancy bikes and cool gadgets, none of these things are necessary to participate in and, more importantly, enjoy the sport. For example, many popular events (such as the Olympic distance races in New York and Chicago) maintain racing divisions specifically for athletes using fun alternatives such as Citi-bikes. Similarly, when racing at Ironman Wisconsin last year, I ran into a gentleman who had undertaken the challenge of riding all 112 miles on a fat-bike (I challenge my readers to beat his highly respectable overall time of 11 hours!).
It goes without saying that one’s training and preparation are by far the most important determinants of performance on race day. That being said, once this has been reasonably optimized, smart equipment choices can provide marginal gains that become increasingly more important as one aspires to the pointy-end of the field, where a podium spot or Kona-qualification may be the difference of seconds (as was the case for me at Wisconsin last year).

Cross-Discipline
Tri-Suit: While one can most certainly complete a triathlon in a swimsuit, cycling kit, and/or an ordinary tee and shorts, many athletes opt for a dedicated suit that can be worn across all three disciplines. These so-called “tri” suits confer a number of advantages:
- Transitions: Given the lack of need to change into a new set of clothes, athletes can materially reduce the time it takes to transition from swim to bike and bike to run.
- Comfort: Via seam placement and the strategic use of materials, a well-made tri-suit is generally designed to maximize athlete comfort over a long race (from personal experience, chafage becomes a very real issue after 9+ hours on the course!) Like cycling shorts, tri-suits often include a chamois pad to protect one’s nether regions when on the bike. Unlike cycling shorts however, this chamois pad is often smaller and specifically designed to dry out faster after the swim leg and be less of a nuisance when running.
- Speed: Often made out of spandex-derived materials, tri-suits are designed to closely hug the body, substantially reducing both hydrodynamic and aerodynamic drag. In the context of the bike-leg, the general rule of thumb is that switching from a standard club-fit cycling jersey to a well-fitted tri-suit can provide a drag savings of 10-15 watts, which equates to approximately 4-5 minutes over the course of an Ironman bike-leg (or in my case, the equivalent of over three months-worth of training!)
For this season, I have chosen to use Endura’s QDC Drag2Zero SST tri-suit. While there is a great variety of manufacturers out there (in the past I’ve used clothing made by Castelli, Roka, and Assos), this particular design received the dubious distinction of being banned by the UCI, pro-cycling’s governing body, who declared that its use of woven chevrons to improve laminar flow on the shoulder area was too fast. Triathlon operates under a separate and distinctly more relaxed rulebook when it comes to equipment, and many pros have used this suit to great success over the past couple of years. In order to better deal with the heat and humidity likely to be encountered in Kona, I have chosen a mostly white design.

Swim

Swimskin: Given that the swim leg of most triathlons takes place in open bodies of water such as lakes or oceans, many athletes often opt to wear a wetsuit. Most commonly made out of neoprene, wetsuits provide insulation and can also allow athletes to swim faster by facilitating a more streamlined position and providing additional buoyancy. For the average swimmer, most coaches peg the time savings of a wetsuit at around 10 seconds per 100m, or approximately 5-6 minutes over the course of an Ironman swim. Wetsuits are usually prohibited at Kona given the warm water temperatures, for which reason many athletes opt to wear swimskins, which are made out of fabric as opposed to neoprene. The time savings of a swimskin are more modest, around 5 seconds per 100m, or 2-3 minutes over the course of an Ironman swim. For Kona, I’ve chosen to use the Roka Viper X swimskin in a sleeveless configuration for maximum arm mobility. Alternative makers include BlueSeventy, Huub, TYR, Orca, amongst others.
Bike
Although progress in cycling equipment has historically been driven by the development of stiffer and lighter weight materials (e.g. titanium alloys and carbon fiber layups), the focus has markedly shifted in recent decades towards improved aerodynamics. This is due to the recent realization that even at modest speeds (for most riders, above 10-12 mph), the force of aerodynamic drag becomes the predominant limiter to performance (over other factors such as weight and rolling resistance), given that it increases exponentially with one’s speed as per the equation below:
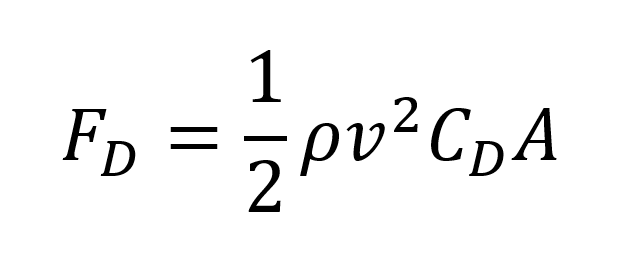
Here, FD represents the force of drag, ρ represents the mass density of a fluid, v represents velocity, CD represents drag coefficient (shape dependent) and A represents the area presented to the wind.
The type of bike that one uses in triathlon depends on the format of the race. For example, at the Olympics and many shorter races where drafting is permitted (i.e. athletes are allowed to ride closely behind each other in packs in order to shelter from the wind and tactically reduce their energy expenditure), participants are required to use traditional road bikes. In non-draft legal races such as an Ironman where athletes are required to maintain a minimum distance between each other, the use of time-trial (“TT”) bikes is permitted. TT bikes differ from standard road bikes in that they possess two sets of handlebars: a wider set known as “bullhorns” which house the brake levers, and a narrower set known as “aerobars” which allow the rider to rest his arms on a set of elbow pads in a much lower, tucked position. While a TT bike allows for a far more aerodynamic position, given that the brakes levers are not immediately accessible, race organizers do not permit their use in draft-legal racing for safety reasons. Within the category of TT bikes, it should be noted that one can easily retrofit a standard road bike with aerobars, although purpose-built TT frames are generally slightly faster for a given rider position. Dedicated triathlon bikes are distinct in that they often incorporate features that are not legal in traditional bike races sanctioned by the UCI, such as deeper frame shapes and integrated hydration / storage.

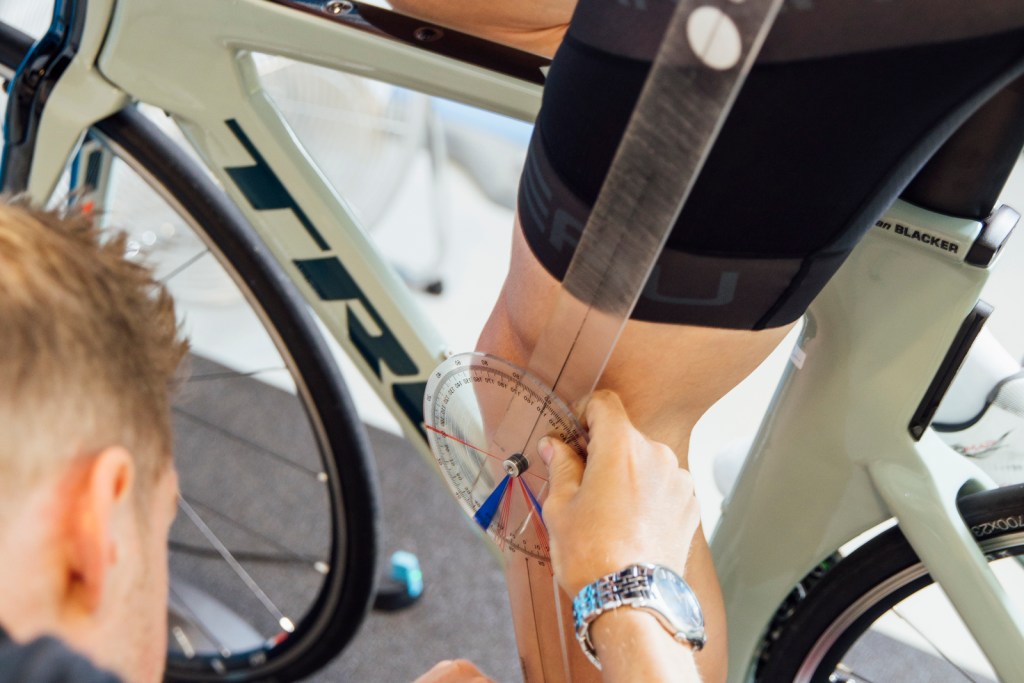
Bike Fit: Most coaches and manufacturers would agree that as much as 80% of aerodynamic drag comes from the rider (as opposed to his/her bike) which is driven by one’s riding position and clothing (see my commentary on tri-suits above). However, adopting a more aggressive aero tuck on the saddle must be balanced against one’s ability to (i) produce power in that position and (ii) sustain that position for long periods of time. In order to optimize between these considerations, a strong case can be made that ahead of any specific equipment choices, a properly executed bike fit is one of the best returns on investment from a performance perspective. While there is significant variation between individuals, the drag savings from a change from a standard road bike position to a well-optimized TT position has been known to be as high as 60-80 watts (20 minutes over an Ironman). During a bike fit, a technician assesses a rider’s anatomic dimensions, flexibility, and strength to adjust the key contact points on an existing bike or to make recommendations on the specifications of a new frame. These specifications include but are not limited to saddle height and fore/aft position, handlebar stack/reach, crank length, pedal width, and cleat position.
While on this subject, I would like to make a special callout to Julie, Lori, Juan, and Kevin at Pacific SBR in Stamford, Connecticut, who all played an instrumental role in developing, building, and maintaining the rig that ultimately helped snag my Kona qualification at Ironman Wisconsin last year. It is difficult to give this dream team enough praise for their attention to detail and customer service, for which reason it will be an honor to wear their logo on race day as a small way to give back.

Bike Frame: Based on the specifications obtained from my bike fit with Lori at Pacific SBR, we ultimately decided to build a rig based on the Felt IA FRD triathlon frame in size 48, the smallest size available. Despite being 5’ 10”, this was one of the few frames that can actually accommodate my dimensions given my proportionally short legs and long torso (hence the name of this blog, “Kona Korgi”). This was also one of the few triathlon bike frames at the time to accommodate hydraulic disc brakes, which are considered to be more reliable across various weather conditions vs. rim brakes. It certainly does not hurt that this frame has been ridden to victory at Kona for six years in a row under Daniela Ryf and Mirinda Carfrae.

Drivetrain: In terms of drivetrain, we installed SRAM’s ETAP RED AXS groupset, an electronic system which requires very little maintenance and provides the greatest optionality in terms of gear shifter placement (vs. mechanical systems which are cable-actuated and only allow riders to shift from the aerobars). At the time of purchase, this was also the only 12-speed groupset available on the market (vs. the current 11-speed standard), which allowed the installation of a wider set of gear ratios without the gaps between gears being too large. In terms of actual gearing, I chose to run a 48/35 chainring up front with 10-33 cassette in the back. While some may consider these to be “granny gears”, this choice was deliberate to ensure that I could climb the steepest grades in Wisconsin (10%+) without exceeding my threshold power. Although the climbs in Kona are not as steep, when combined with a potential 60+ mph head wind, I firmly believe that this gear combination remains a prudent choice. This drivetrain was further optimized via the installation of ceramic bearings and oversized pulley wheels, which together save approximately 5 watts (1-2 minutes over an Ironman / 1 month of training). Two additional notes on this topic are that I run very short 165mm cranks on account of my short legs and have a Quarq power meter integrated into the chainring. In terms of alternatives, the groupset space is dominated by Shimano, SRAM, and Campagnolo.
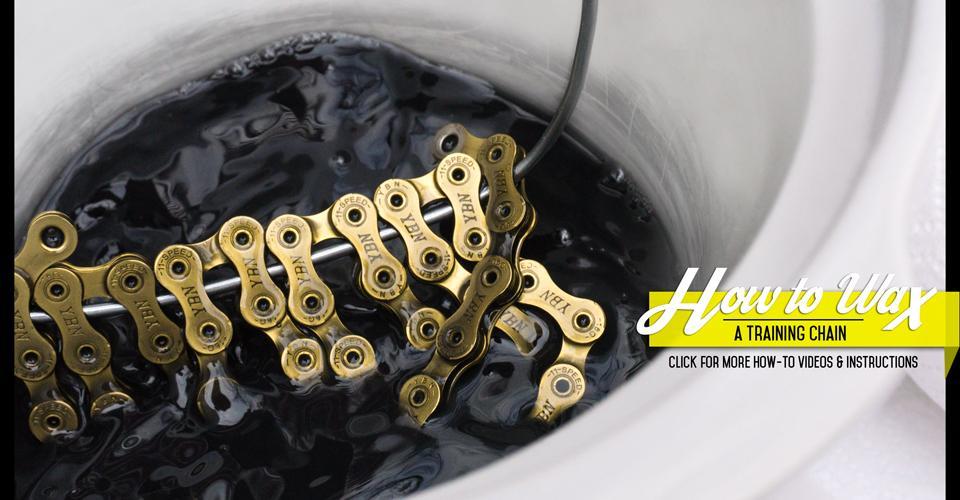
Sidenote on Drivetrain Maintenance: Perhaps one of the easiest and cheapest ways to obtain additional speed for a given amount of energy output on the bike is a properly maintained drivetrain. Over the course of multiple rides, the accumulation of grit and grime creates additional drag in one’s chain, resulting in mechanical losses. While most cyclists address this via the removal and reapplication of oil-based lubricant, studies have shown that immersing one’s chain in paraffin wax can provide a 5-watt saving (1-2 minutes over an Ironman / 1 month of training) over conventional methods. Paraffin wax has also been shown to last significantly longer (200-300 miles vs. a single ride for most oil-based lubricants), the only real downside being the time, mess, and hassle of the application process.
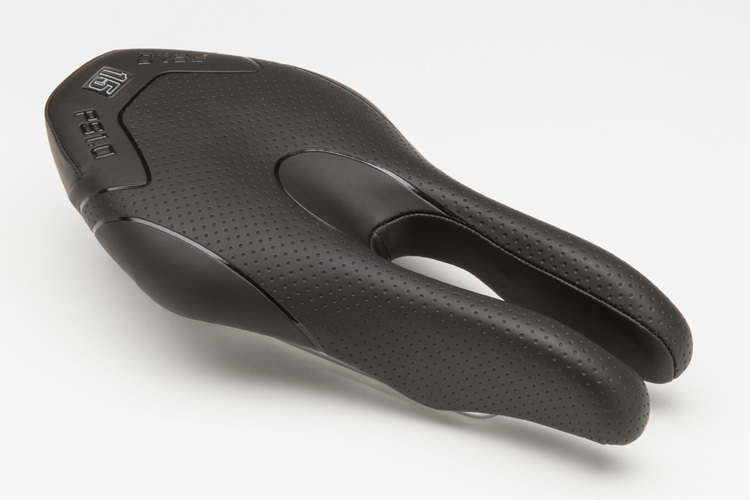
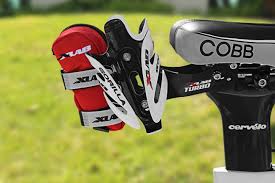
Saddle: One the bike’s primary contact points, saddles come in a wide variety of shapes and sizes and a rider’s ultimate choice of saddle is a highly personal one that oftentimes requires a substantial amount of trial and error (to put it bluntly, everyone’s undercarriage is shaped differently!). I for one have gone through at least six different designs over the past 3 seasons before settling on my current choice, the ISM PS 1.1. This is a split nose design which shifts the rider’s weight from soft tissue to sit-bones, enabling the rider to rotate the hips forward into a more aerodynamic position. Other saddle manufacturers that typically have a strong showing at Kona included Cobb, Fizik, Specialized, Bontrager, ProLogo, and Selle Italia.
Aerobars: While most TT frames come with their own stock set of aerobars, I instead opted to install an aftermarket set of Profile Design Aeria Ultimate bars coupled with TriRig’s Scoop armpads. This combination enables the rider to cant the aerobars upward at a 15 degree angle in a so-called “praying mantis” position. I’ve found this setup to be far more comfortable and secure in bumpy and windy conditions, enabling me to maintain the aero position for longer periods of time.


Pedals: For pedals, I’ve opted to run Speedplay’s Zero Aero model, which are unique in that they sit flush with one’s cycling shoes and utilize a dimpled surface design to improve laminar flow. 3rd party testing has indicated that these pedals provide a 4-6 watt savings in aerodynamic drag over standard designs (1-2 minutes over an Ironman / 1 month of training). Other common pedal manufacturers include Shimano, Look, and Time.
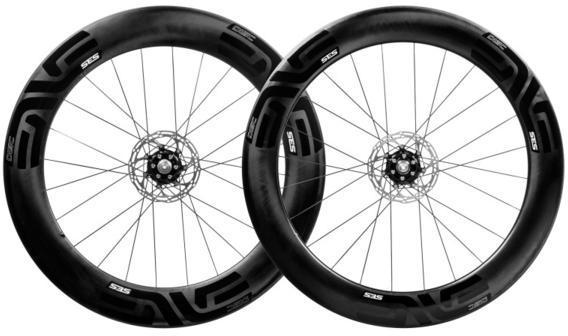
Wheels: By reducing the turbulence created by rotating spokes, deeper section wheels can provide significant aerodynamic gains on the order of 20-30 watts over standard box-section rims (7-8 minutes over an Ironman / 5-6 months of training). In addition to being very expensive, the tradeoff of deep section wheels is that they tend to be heavier and more sensitive to crosswinds, which can force riders out of the aero position. While the fastest possible wheel setup is to run a solid disc wheel (as I did at Wisconsin), their use is prohibited in Kona for safety reasons due to the potential for 60+ mph crosswinds on the course. As such, I have elected to run with Enve’s SES 7.8 wheels for race day. In addition to being very deep (70mm up front and 80mm in the back), these wheels utilize a toroidal shape that is more resistant to sudden pressure changes from crosswinds, which I have confirmed to be the case on past rides in Kona. Other reputable wheel manufacturers include Zipp, Reynolds, and DT Swiss.
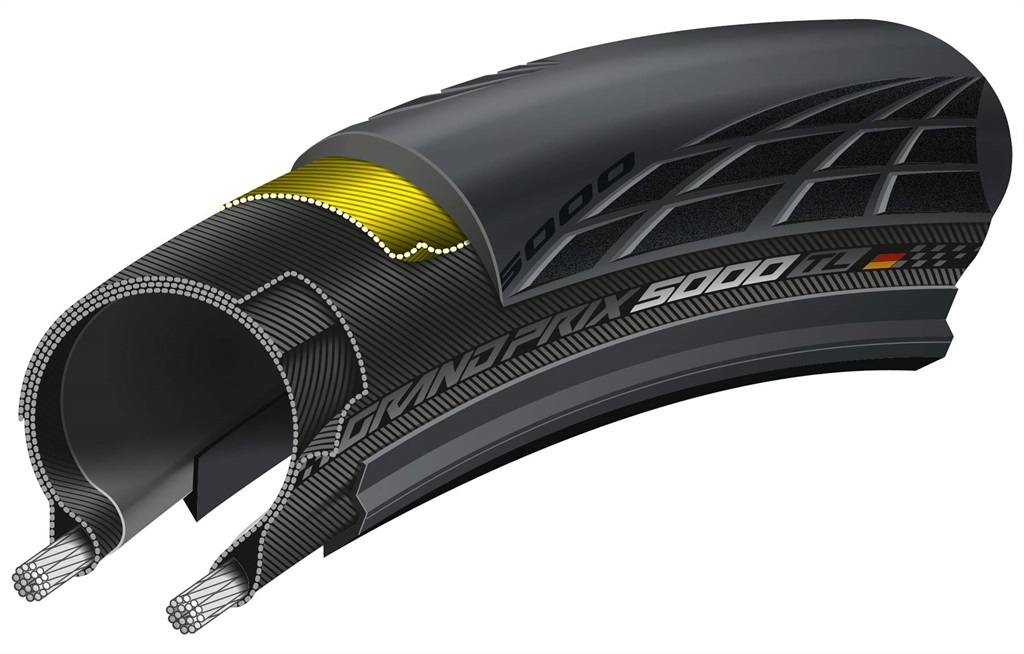
Tires: Similar to proper drivetrain maintenance, tire selection is amongst cheapest ways to obtain additional speed for a given amount of energy output on the bike. Switching from a standard road tire to a race tire with lower rolling resistance can provide a 4-5 watts savings per wheel (3 minutes over an Ironman / 2 months of training). While race tires tend to be more vulnerable to punctures, the recent rollout of tubeless tire designs which include liquid sealant have largely negated this disadvantage. For Kona, I have elected to use Continental’s GP5000 tubeless tire in a 25mm size. Other well-known tire manufacturers include Vittoria, Zipp, Michelin, and Schwalbe.
Nutrition / Hydration: We will cover nutrition and hydration in much greater depth in a subsequent post, but it goes without saying that racing an Ironman requires a significant amount of fueling over the course of the day to sustain one’s performance. To address this, the Felt IA FRD frame has a built-in “bento-box” on the top-tube that can store up to 6 packets of energy chews. While most triathletes prefer to be self-sufficient and opt to carry a large number (4+) water bottles, I have personally found it faster to carry only one at a time (with another in reserve) and replenish these at aid stations. Not only does this save a great deal of weight (each bottle weighs half a kilo!) but it also allows me to maintain a cleaner, more aerodynamic bike frame. Indeed, both my water bottle cage positions (between the arms and behind the saddle) have been tested to have a negligible drag penalty. In addition, I have found that bike aid stations are typically placed on slower sections of the course (e.g. at the foot of hills), minimizing any speed losses from the replenishment process.

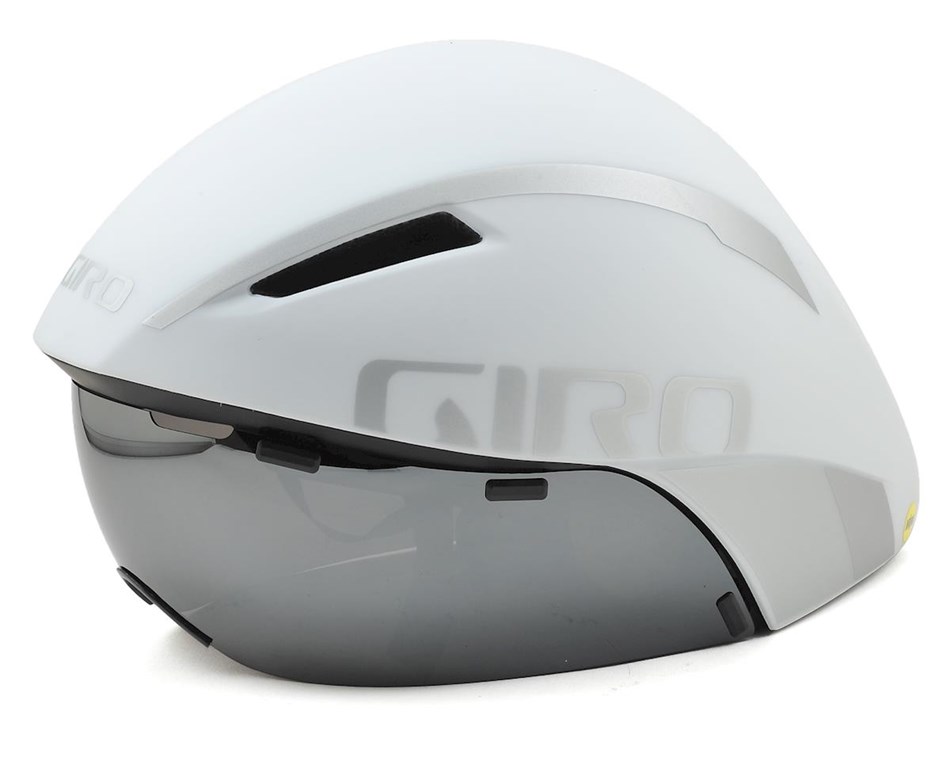
Helmet: In addition to providing crash protection, wearing a specifically designed TT helmet can also significantly reduce aerodynamic drag on the order of 10-12 watts (3 minutes over an Ironman / 2-3 months of training). The tradeoff here is that TT helmets generally have poorer ventilation vs. standard road helmets which can become an issue at hot races such as Kona. I have used the Giro Aerohead helmet over the past three seasons and the only change that I have made for Kona is to switch to a white color to better cope with the heat and humidity. This particular helmet is unique in that it has a wraparound visor that provides excellent peripheral vision, in addition to looking rather intimidating.
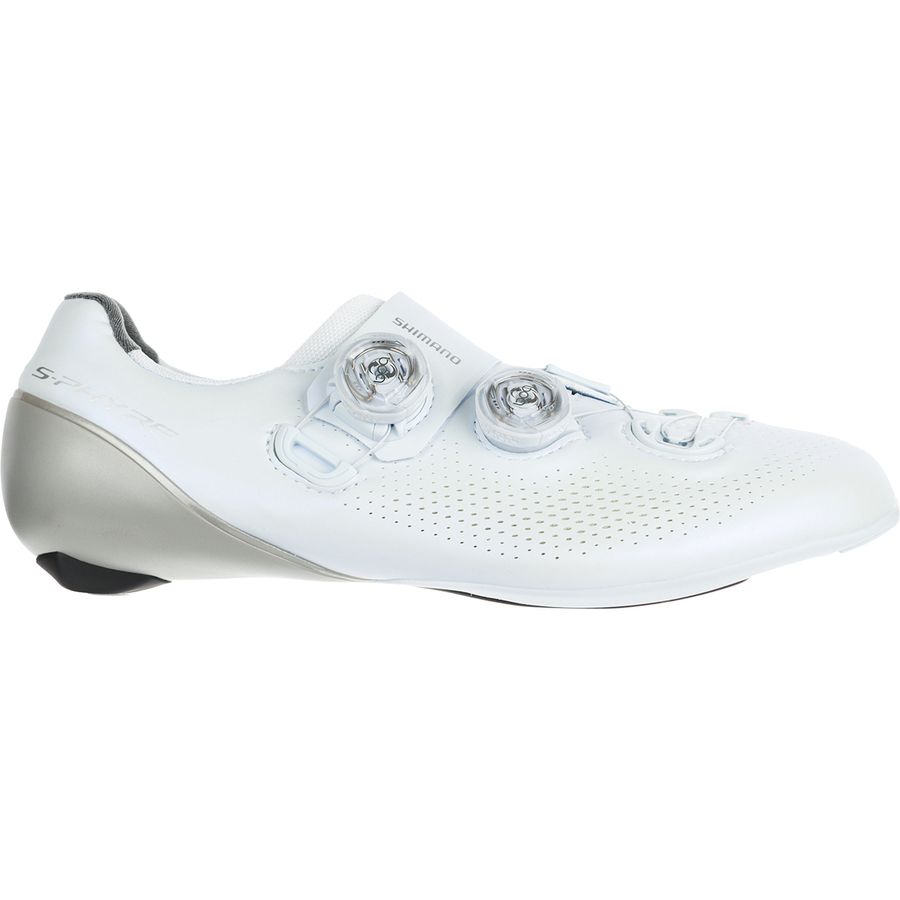
Shoes: Like saddles, shoes are a highly personal choice on account of style and anatomical differences between riders. For Kona, I have chosen to use Shimano’s RC-9 Sphyre shoes, which I’ve personally found to strike a good balance between stiffness and comfort. Like other items that I am wearing for Kona, I have chosen a white color to best cope with the heat and humidity. Other well-known brands include Fizik, Bont, Giro, Specialized, and many more.
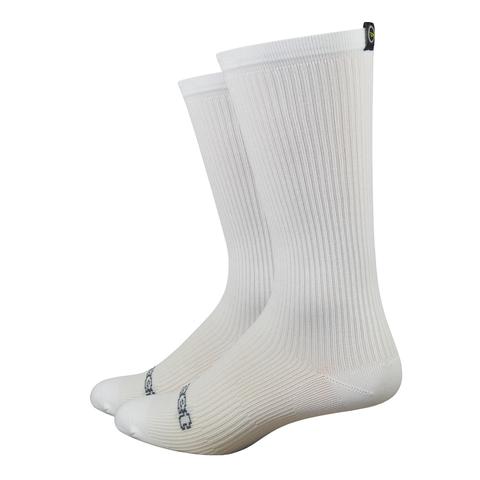
Socks: While many triathletes opt to forego socks on the bike in order to save time in transition, I have personally found taking the extra time goes a long way in making the 112 mile bike ride more bearable. Studies over the past year have also shown that certain fabrics and weaves are actually more aerodynamic than bare skin. For this reason, I have opted to use Defeet Disruptors, which are claimed to save 4-5 watts (1-2 minutes over an Ironman / 1 month of training).
Complete Bike: The below picture shows my full bike race rig as set up for Ironman Wisconsin. Changes since then include my tri-suit, helmet, shoes, and rear wheel.

It goes without saying that chasing marginal gains when it comes to bike equipment can quickly become very expensive. In order that others may not make the same mistakes that I have in this journey, below I have created a list which orders the various equipment choices available from highest to lowest return on investment based on my personal experience.
- Bike Fit
- Waxed chain
- Tires
- Clothing
- Helmet
- Wheels
- Pedals
- TT-specific frame
- Optimized drivetrain (e.g. ceramic bearings)
Run
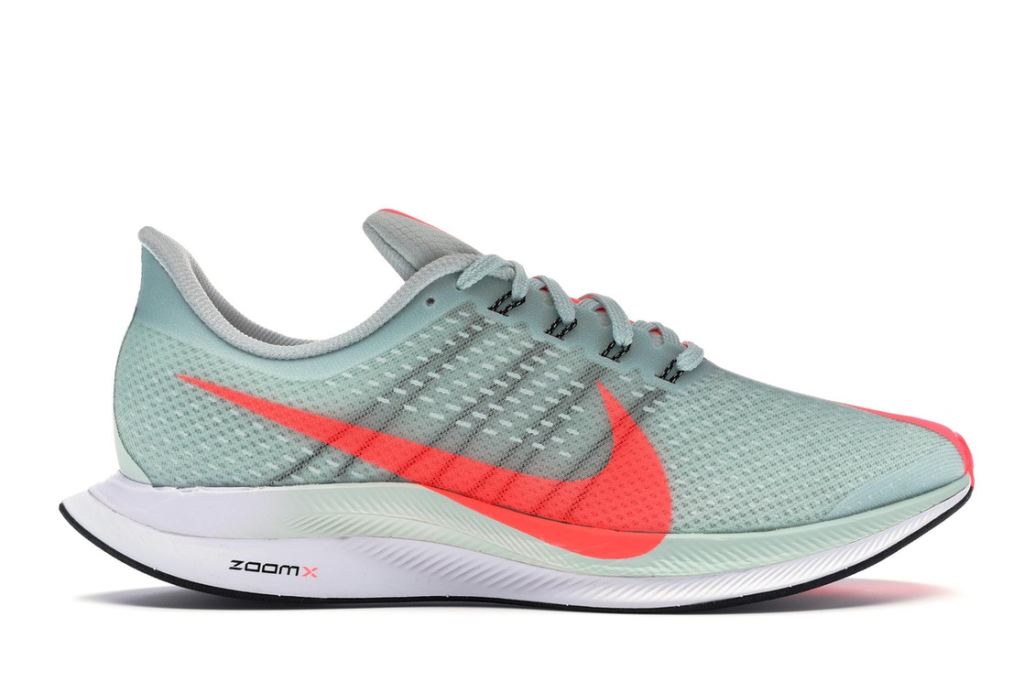
Shoes: Over the past few months, a great deal of controversy has arisen around the legality of Nike’s Vaporfly 4% / Next% running shoes. Integrating a carbon-fiber plate in the sole, these shoes have proven to be materially faster than their competition in tests, allowing runners to increase their pace by 4-5% for the same energy expenditure. While the potential marginal gains of these shoes have been firmly established, I have chosen not to wear them for Kona for two personal reasons: First, I have not found the thin uppers of the recent generation of Nike racing shoes to be particularly comfortable nor easy to put on rapidly in the transition between bike and run, offsetting some of the potential time-savings. In addition, the insoles of these shoes are fully integrated into the design, preventing the use of third-party orthotics, without which my time using these shoes has been plagued with overuse injuries. For these reasons, I have instead opted to use the 1st generation Nike Zoom Pegasus Turbo, which I have used successfully at all my previous races.
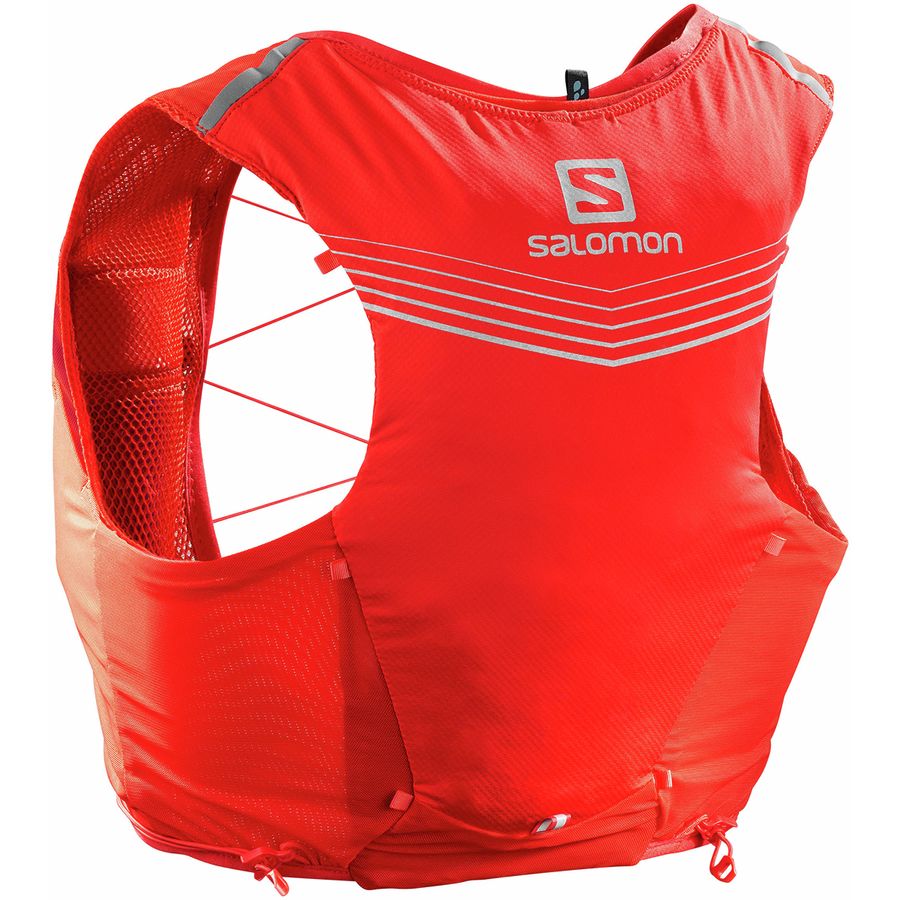
Hydration Vest: During the run-portion of the race, most Ironman athletes generally take in both their hydration and nutrition at aid-stations placed every 1-2 miles on the course. However, I have personally found this approach to be difficult as I am often unable ingest a sufficient amount of fluids from the open cups served by said aid stations without coming to a complete stop. To solve this issue, over the past two seasons I have trained and raced with a hydration vest, which enables me to completely bypass aid stations. This proved to be a very successful strategy at Ironman Wisconsin last year, where I had the fastest run split of the day despite the extra weight. The particular model that I use is the Salomon ADV Skin 5 Set, which provides up to 3L of liquid capacity (more than enough for a marathon), although there are plenty of options out there by companies such as CamelBak and Osprey.
In my next post, we will explore a few additional training concepts that I feel were not adequately addressed in my previous posts. In the meantime, for those of you who would like to follow my training progress, most of my sets can be found on my Strava account at: https://www.strava.com/athletes/15134014.
#dacakeisalie

2 thoughts on “Entry 8: Equipment Part 2, Race Gear”